Are you wondering how to record your screen to save whatever is happening in front of your eyes for future reference? Look no further, as we have some of the best ways to record your screen on Windows and Mac.
Whether you want to record Minecraft gameplay videos, take notes for your classes, or save memories you want to recall later, screen recording is an on-the-go option.
Recording your screen can be done in a few steps without the hassle, no matter what device you use.
However, if you are unsure of the process, here is a handy guide on recording your screen on Windows and Mac.
How to record your screen on Windows
In Windows, you can record your screen using the Xbox Game Bar app, which is provided by default. However, the GeForce Experience app will also do the job if your system has an Nvidia graphics card.
These two steps are free, so you don’t have to spend a single dime on them. Let’s take a closer look at these methods.
Xbox Game Bar
Follow these simple steps to start recording your screen using the Xbox Game Bar.
Step1. Click on the Windows icon in the lower-left corner of the screen and type ‘Settings.’
Step2. When it appears, click on the blue gear icon.
Step3. In Apps, click on the ‘Games’ option.
Step4. Turn on the ‘Enable Xbox Game Bar‘ switch.
Step5. Now, head to the content you want to record and press the Windows + G keys simultaneously.
Step6. This will open the Xbox Game Bar. You can click the Record button in the upper left corner.
Step7. If you want to skip the previous step, you can press Windows + Alt + R keys together.
Step8. That’s it – your screen will start recording along with the audio.
GeForce Experience
GeForce Experience is a great option if you have an Nvidia GPU in your system. It is free, easy to use, and works just like the Xbox Game Bar, but with a few perks.
- Go to Nvidia’s official website, download the software, and install it on your system.
- Once that is done, press the Alt + Z keys together to open the overlay.
- You will find a recording option in the middle labeled “Do not record.”
- Click on it and press Record to start capturing your desktop.
- If you want to skip the previous two steps, press Alt + F9 to shorten the job.
- You are now done – your screen will start recording along with the audio in its native resolution.
The default location for these captures is C:\Users[username]↵Videos. Several features make GeForce Experience different from the Xbox Game Bar, including displaying FPS in-game, showing performance details, and recording clips.
The default location for these captures is C:\Users[username]↵Videos. Several perks make GeForce Experience different from the Xbox Game Bar, including displaying FPS during a game, viewing performance details, and recording clips.
How to Record Your Screen on a Mac
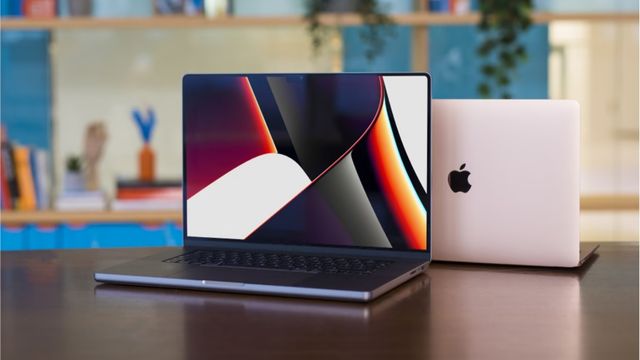
Like Windows, macOS has built-in screen recording software called QuickTime Player.

Follow these simple steps
- Go to the QuickTime Player on your system.
- Click on “File” and then “New Screen Recording.
- The keyboard shortcut for the same is to press the Command + Shift + N keys together.
- How much of the screen and how long do you want to record – When the recording prompt appears, select your desired option.
- Then press Record to begin the process.
To locate a recorded clip, click on “Open Location” from the “File” menu.